
- Application Platform
- Application Foundation
- Test Essentials
- Log onto your dev environemnt
- Go to your LCS project’s Asset library.
- On the Software deployable package and click Import
- Select Platform Update 4 and click Pick

- Click on the Name to start the download


Prepare the installation
- Unzip the file to a local directory
- navigate to: ...\AOSService\Scripts\PlatformUpdatePackages.Config
- change the MetaPackage value: to dynamicsax-meta-platform-development
(This is important if you are updating you dev vm)
- If you are updating a local VM you can leave the Machine name in DefaultTopologyData.xml file as localhost, otherwise change it to the name of the pc
- Open a command prompt as admin and navigate to the folder update folder#
- AXUpdateInstaller.exe generate -runbookid="OneBoxDev" -topologyfile="DefaultTopologyData.xml" -servicemodelfile="DefaultServiceModelData.xml" -runbookfile="OneBoxDev-runbook.xml"
- AXUpdateInstaller.exe import -runbookfile=OneBoxDev-runbook.xml
- AXUpdateInstaller.exe execute -runbookid=OneBoxDev

- If you need to rerun a step use the following command:
AXUpdateInstaller.exe execute -runbookid=OneBoxDev -rerunstep=1 - rebuild your application


- Open Visual Studio and click Tools - Extensions
- Uninstall Dynamics 365 for Operations extension

- restart and close VS
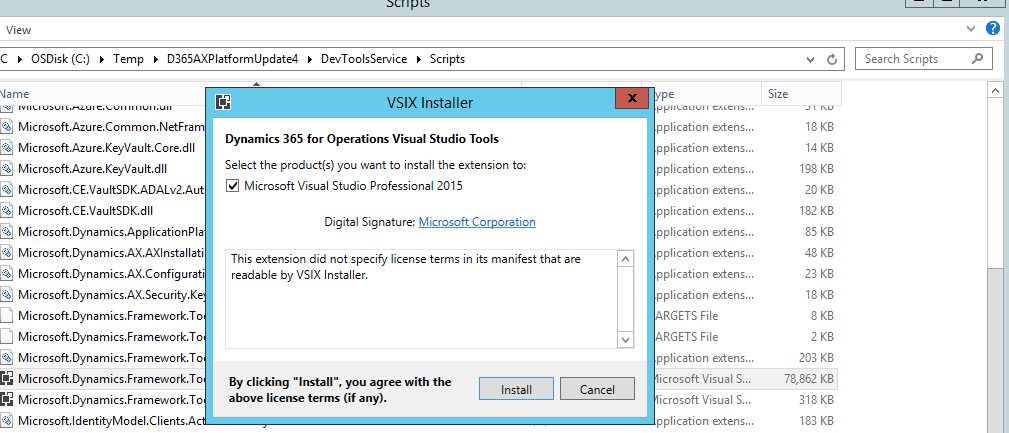
- Run the installer
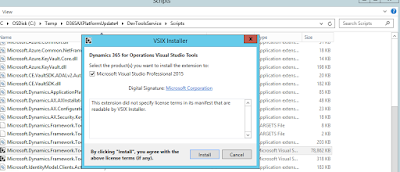
- After that Version 7.0.4.0 should be installed


- Cd C:\AOSService\PackagesLocalDirectory\Bin
- xppfagen.exe -metadata=C:\AosService\PackagesLocalDirectory -model="ApplicationPlatformFormAdaptor" -xmllog="c:\temp\log1.xml"
- xppfagen.exe -metadata=C:\AosService\PackagesLocalDirectory -model="ApplicationFoundationFormAdaptor" -xmllog="c:\temp\log2.xml"
- xppfagen.exe -metadata=C:\AosService\PackagesLocalDirectory -model="DirectoryFormAdaptor" -xmllog="c:\temp\log3.xml"
- Cd into \DIXFService\Scripts
- msiExec.exe /uninstall {5C74B12A-8583-4B4F-B5F5-8E526507A3E0} /passive /qn /quiet
- msiexec /i "DIXF_Service_x64.msi" ISSQLSERVERVERSION="Bin\2012" SERVICEACCOUNT="NT AUTHORITY\NetworkService" /qb /lv DIXF_log.txt


